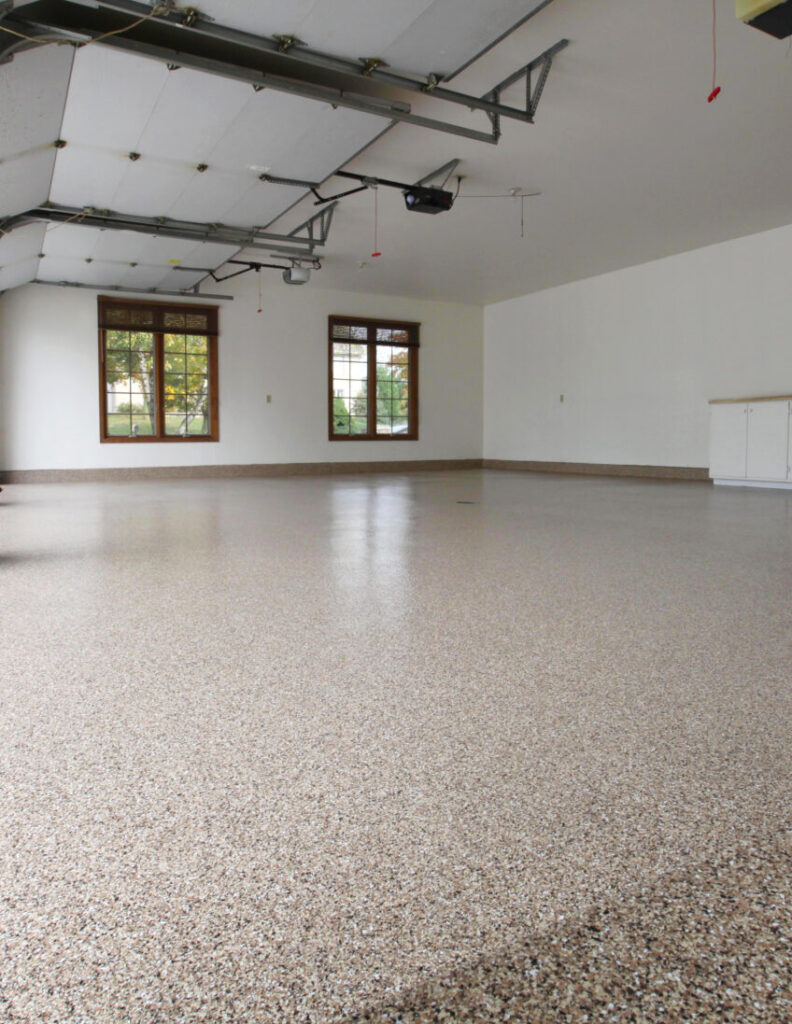
If you’re looking for an easy way to spruce up your garage, then look no further than epoxy floor coating. Epoxy is a great option for creating a durable and attractive surface for your garage floor. It’s easy to apply and will make your garage look like new again. In this blog post, we’ll show you how to epoxy your garage floor in 7 easy steps. By following these instructions, you’ll be able to create a beautiful epoxy floor in your garage with ease.
Preparing The Surface for Epoxy Garage Floor
Before you can apply your garage epoxy, it’s important that the surface is adequately prepared. This step is vital to ensure your epoxy will adhere properly and provide the best coverage.
Start by thoroughly cleaning the garage floor. Remove all dirt and debris, paying special attention to the corners and any cracks or crevices. If the floor has any oil or grease spots, use a degreaser to remove them. Once the floor is clean, repair any cracks and fill in any holes with an appropriate patching material. Once everything is patched up, sand down the surface to create an even surface for the epoxy to adhere to.
Finally, give the floor one final sweep to make sure it’s free from dust and debris before you begin applying your garage epoxy.
Applying Primer to Garage Floor
One of the most important steps of installing garage epoxy is to properly prepare the surface. This means making sure the floor is clean and free of dust, dirt, and debris. Once this is done, it’s time to apply the primer.
Before applying the primer, make sure that you have all the necessary safety equipment such as gloves, a face mask, and protective eyewear. After that, mix the epoxy following the instructions on the package. When mixed correctly, the epoxy should have a thick consistency like honey.
Using a paintbrush or roller, apply the primer evenly over the entire surface of the garage floor. Make sure that you go over any edges or cracks that may be present in order to get a smooth and even finish. Let the epoxy dry before moving on to the next step.
Adding First Coat of Epoxy
Once you have prepared your garage floor and applied the primer, it’s time to begin adding the first layer of epoxy. This layer is important for creating a strong foundation for your finished garage floor, so it is essential to take your time and apply the epoxy correctly.
Start by pouring out your garage epoxy onto the floor in small sections. Use a squeegee or a notched trowel to spread the epoxy over the surface evenly, making sure that you don’t leave any gaps or uneven spots. If you do encounter any air bubbles, use a roller to help push them out.
Adding Decorative Flakes
Adding decorative flakes to your garage epoxy is a great way to add character and depth to the floor. There are many different types of flakes available in various colors, sizes, and styles. Before adding them to your epoxy, you’ll need to prepare the surface.
First, you’ll need to vacuum the area and make sure there is no dirt or debris left. Next, use an abrasive brush to ensure that all areas are completely cleaned and prepped for the epoxy.
Once the surface is ready, it’s time to apply the epoxy. Make sure to follow the instructions carefully as each epoxy has different requirements for application. Once the epoxy is applied, you can start adding the decorative flakes.
Spread the flakes evenly over the entire area. Make sure to leave at least 4-6 inches between each piece of flake for proper coverage. You can also adjust the amount of flakes added for more subtle or bold looks. Once all the flakes are spread out evenly, let the epoxy set and dry.
After the epoxy has dried and cured, you will have a beautiful garage floor with decorative flakes!
Adding Topcoat
Once you have applied your decorative flakes, it is time to add the topcoat of epoxy to complete the job. To apply the topcoat of garage epoxy, start by mixing the epoxy according to the manufacturer’s instructions. Once you have mixed the epoxy, use a roller and begin to apply the topcoat in thin, even strokes. Start in one corner of the garage and work your way across the floor. Make sure that you apply enough of the epoxy so that the entire floor is covered. Allow the epoxy to dry for a few hours before walking on it. Finally, use a clean cloth to remove any residue or dust from the floor. After this step is completed, your newly installed epoxy floor coating should be ready for use.
Finishing Up
Once you have applied the epoxy to your garage floor, it is important to take the time to properly finish up the project. Start by allowing the epoxy to dry completely. This could take anywhere from 12-24 hours, depending on the product you chose. Once the epoxy is completely dry, you can use a damp mop to clean up any residue.
To keep your garage epoxy floor looking new for years to come, it is important to regularly sweep and mop the area. Make sure to check the manufacturer’s instructions for specific cleaning and maintenance recommendations. Additionally, make sure to apply a fresh coat of epoxy every few years to keep it looking fresh. With proper care and maintenance, your garage epoxy floor will last for many years.
Maintaining Your New Garage Floor
Once you have successfully applied the epoxy to your garage floor, it is important to take the proper steps to ensure that your epoxy stays in good condition for years to come. To make sure your epoxy floor is protected, start by sweeping and cleaning regularly. Remove any debris, dirt or other contaminants so they don’t damage the epoxy.
It is also important to avoid using harsh chemicals when cleaning your garage epoxy floor as they can potentially damage the finish. Additionally, if you want to apply additional coats of epoxy or perform repairs, it is best to consult a professional who has experience with epoxy floors. Doing so will ensure that the job is done correctly and will help protect your floor from further damage.
Final Thoughts
If you have the equipment and confidence to tackle the job yourself, be sure to do your homework first. All things considered, we recommend hiring a professional floor coating installer, if you want a quality finish that will last! For any questions feel free to contact us, we’re happy to help!
